
(in progress) Test tiles • Testing testing 1, 2, 3
The first rule of all this maddness- test tiles.
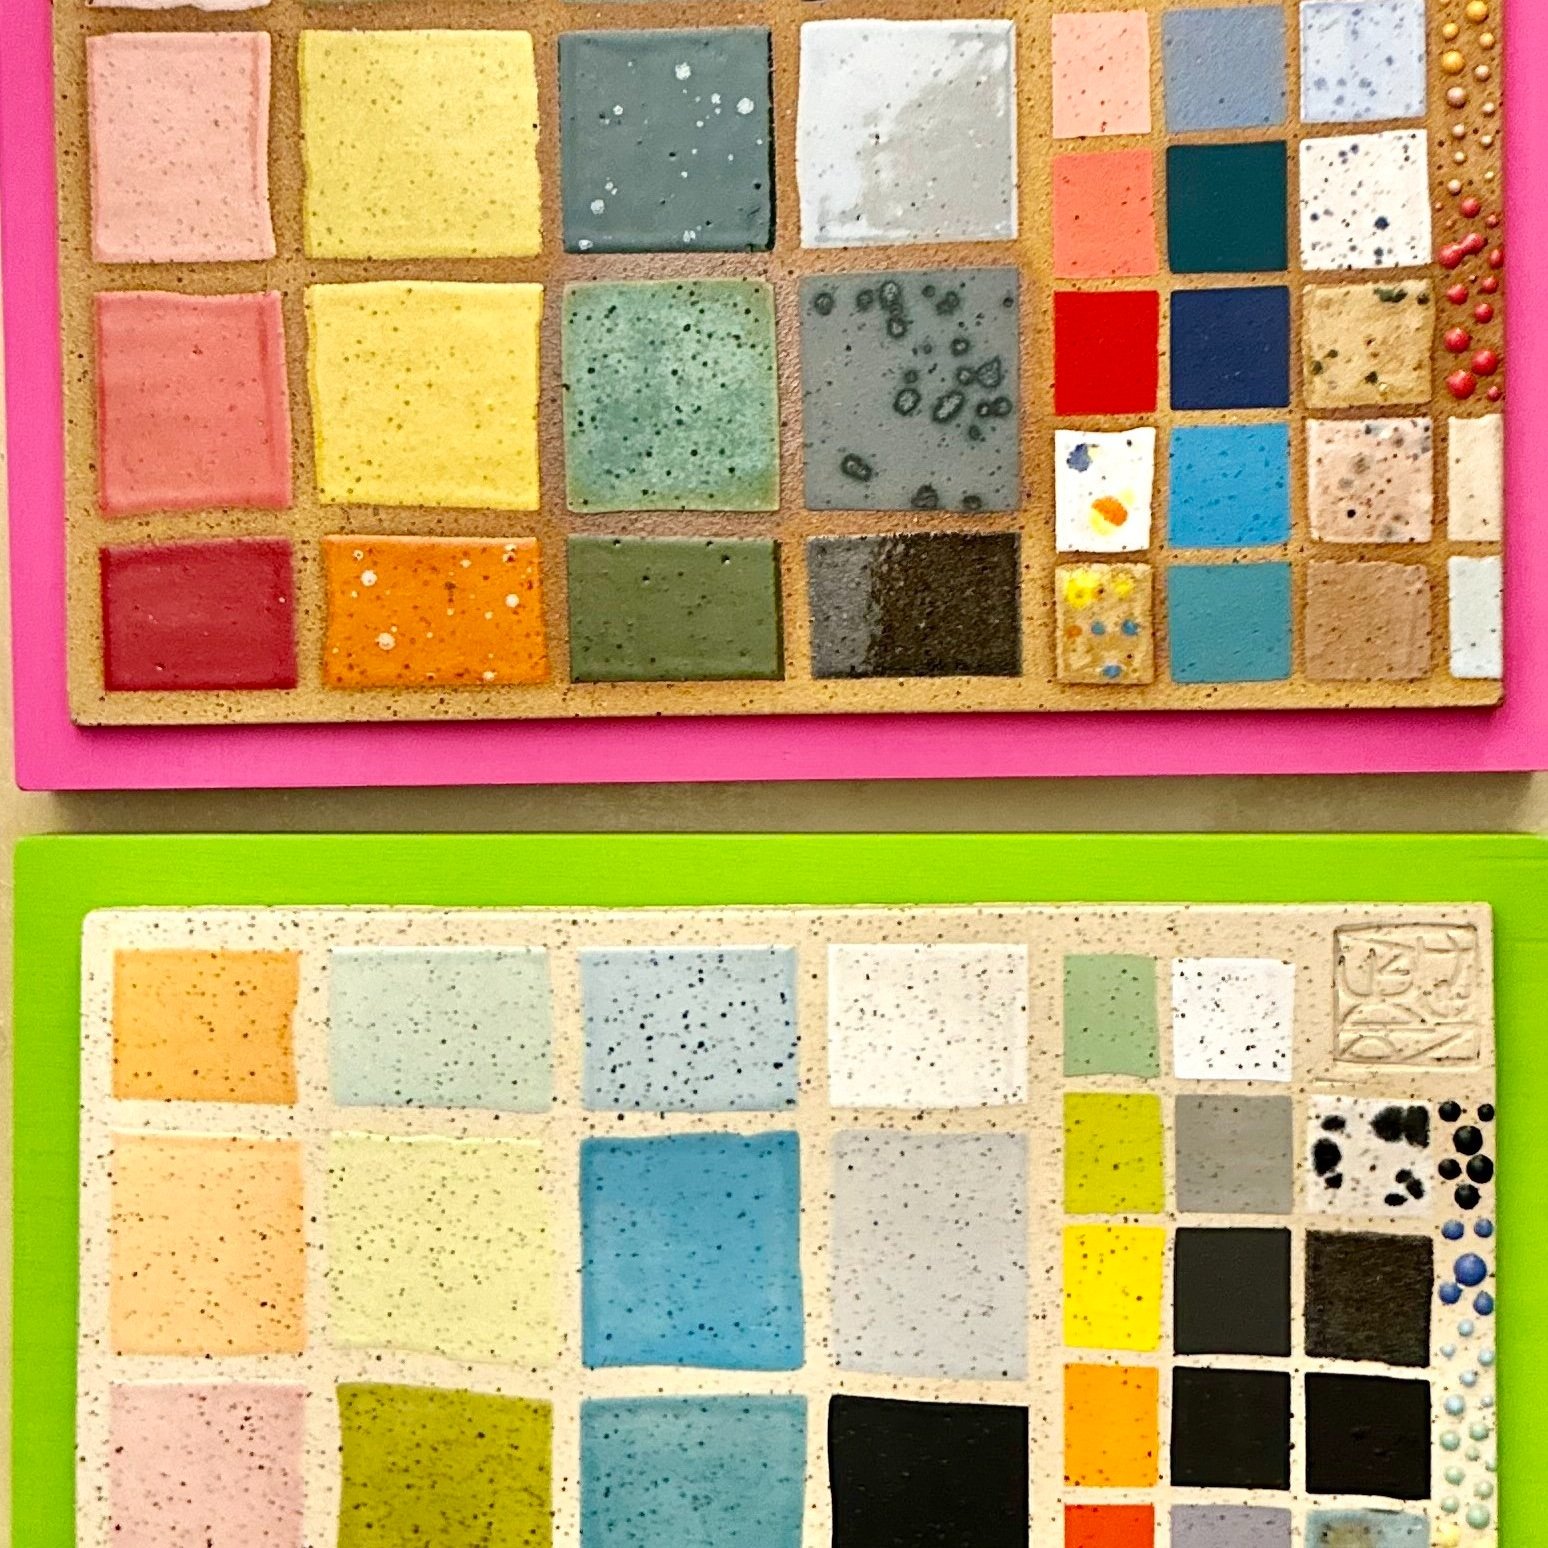
I make test tiles in several different ways, depending on what I need those tiles for.
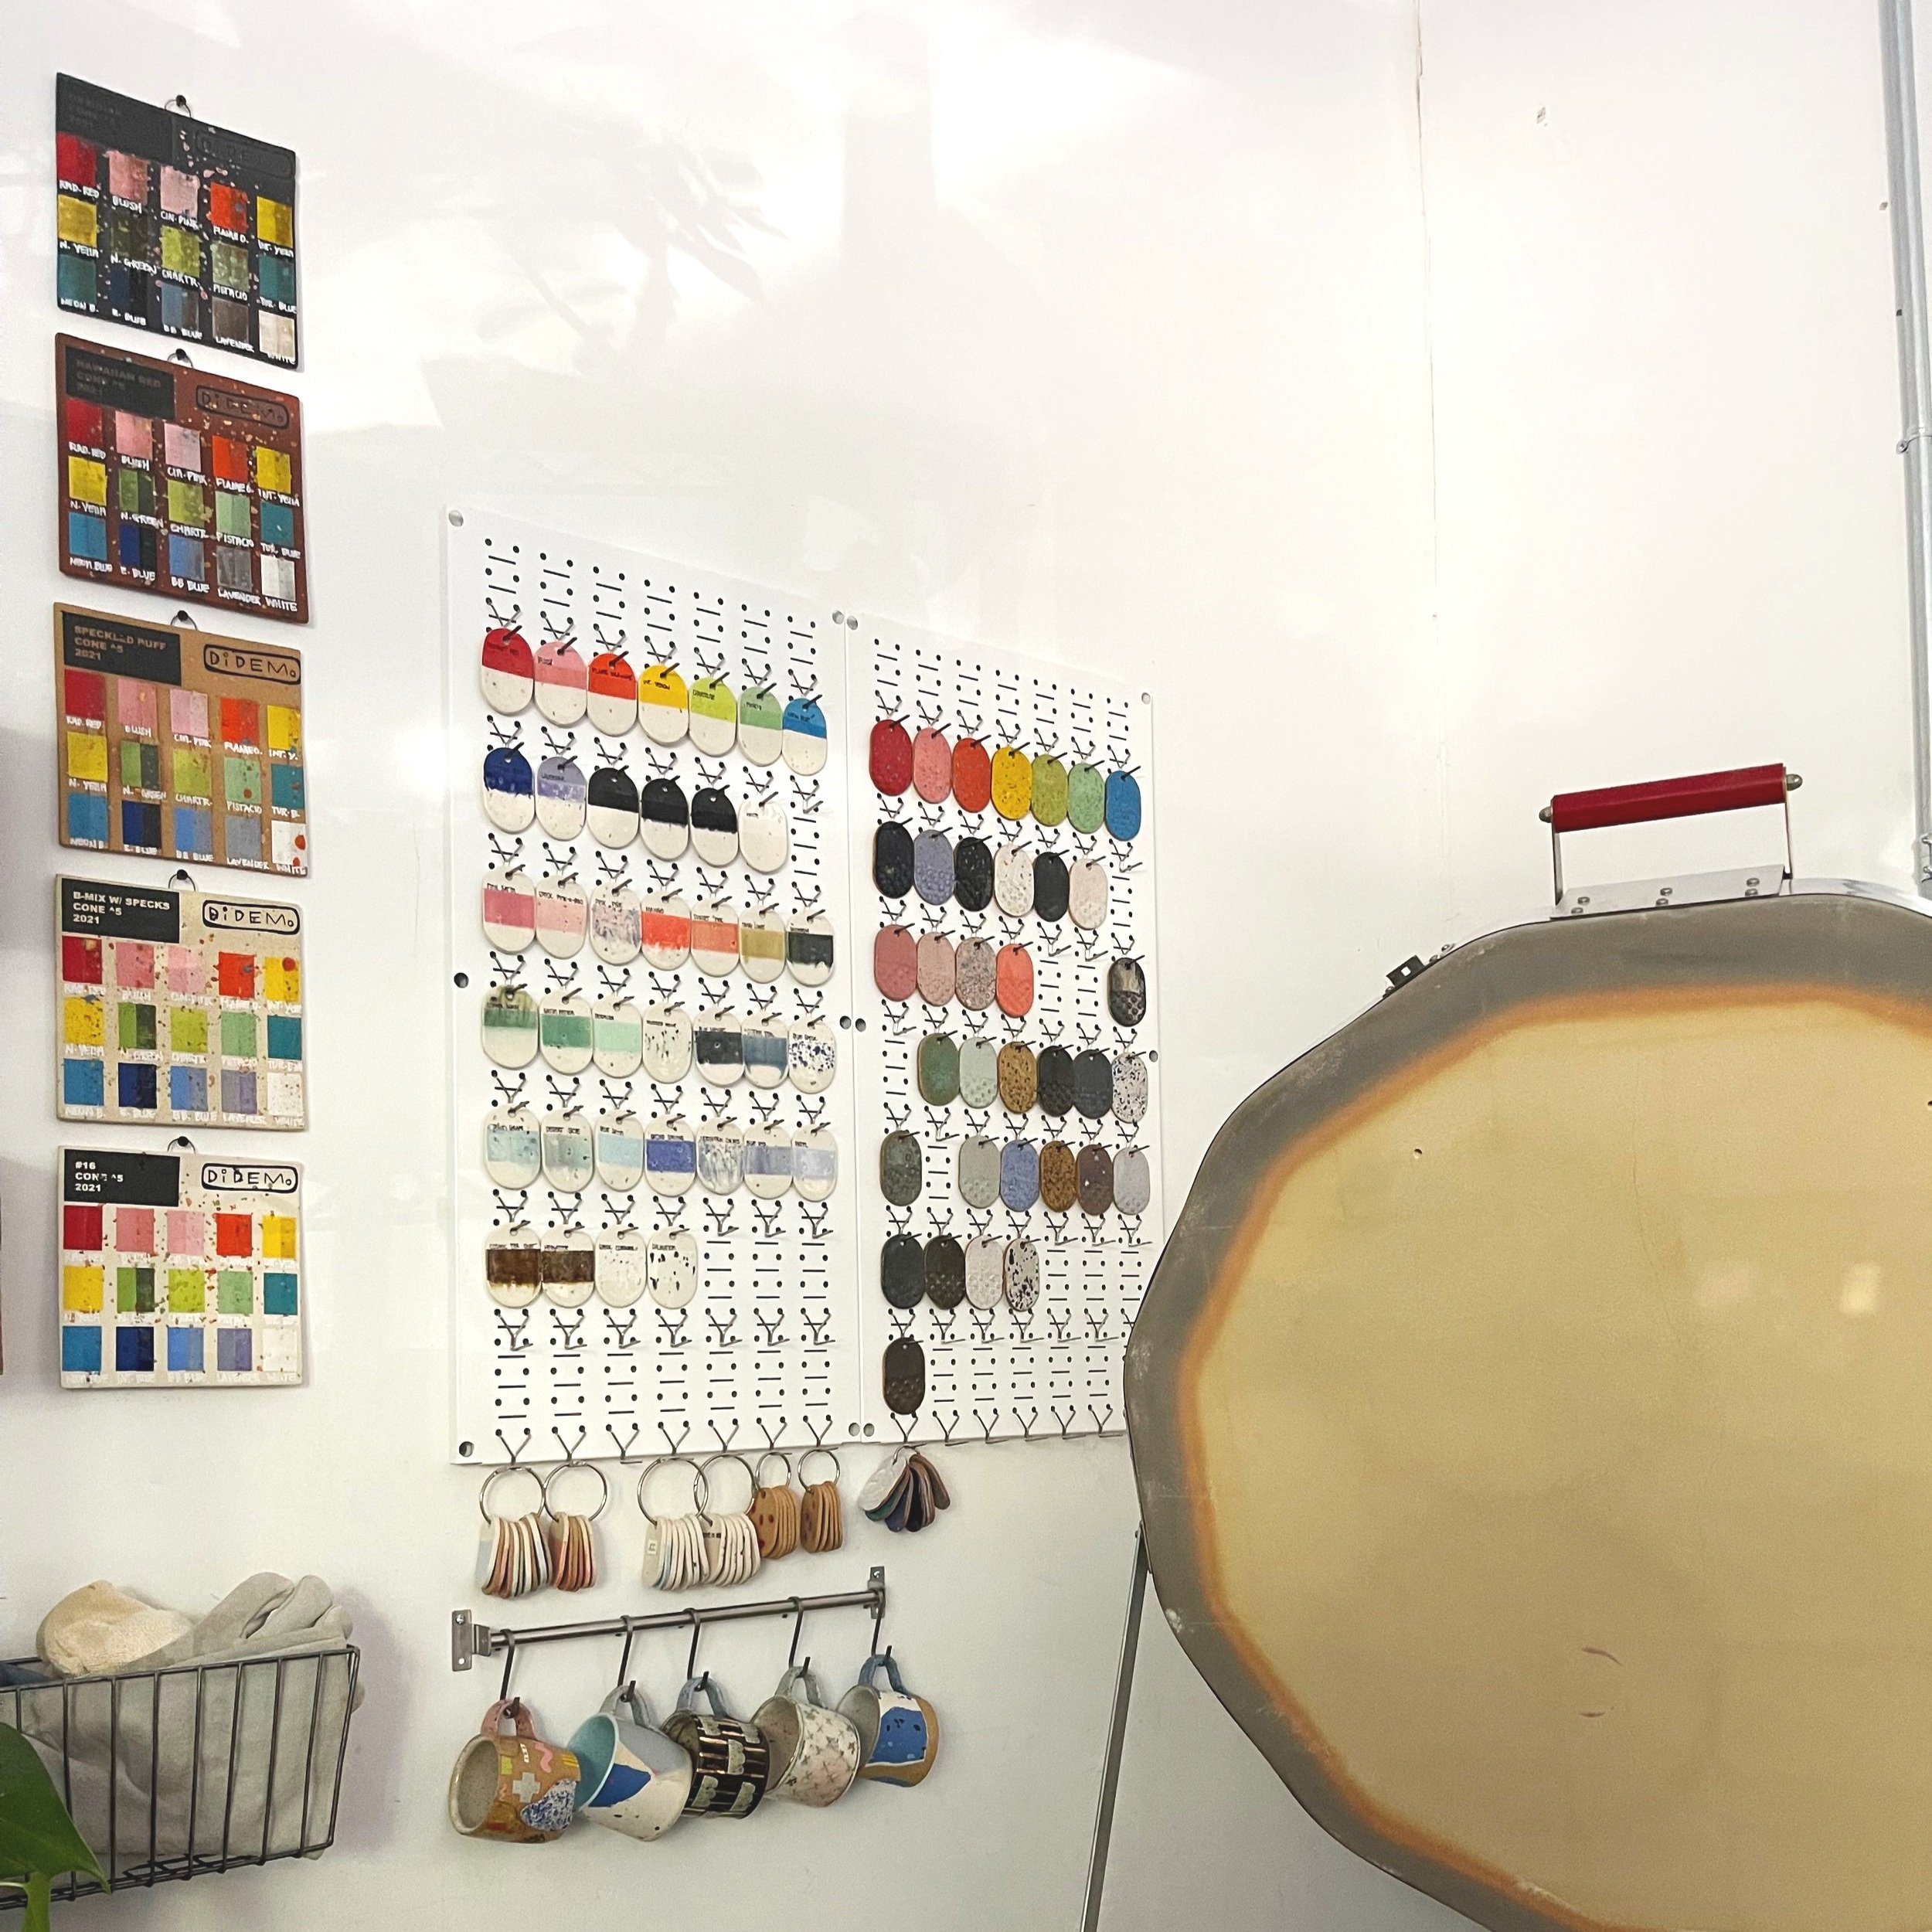
Circular cookie cutter test tiles
small circular test tiles from a slab of clay. I cut out the tiles like sugar cookies and punch a little hole on the top of them so I can hang the tiles from a binder clip or on the wall by a nail. I fire my tiles flat on a kiln shelf, so I get the horizontal view of what the glaze will look like. The glazes I use don't move/run much at all, so I'm more concerned with color and finish.
If you're more concerned with the vertical running of a glaze you can place these tiles on a bead rack or nichrome wire supported by two soft bricks. This will save you space in your kiln too!
The reason why I like making my tiles this way is because it saves space and keeps them organized.
I purchase different sized binder clips so I can group certain tests together, for instance, say I was testing a base glaze with several different colorants, I would put all of those tests on one small binder clip.
I like to use test tiles as swatches too. I have a collection of swatches (also on a binder clip) that I can use to figure out color combos, but when it comes to actually using swatches paired next to ceramic pieces I use my test tiles.