Organization in the Studio

Organizational disaster ADHD pile. LOLOLOLOL.

No shame, shit gets messy af. I balance my mess by always making sure to clean up at the end of each workday.
Beginnings
Let me preface this by saying I do have ADHD. I take a very small dose of prescribed Adderall (yay for medical professionals). It’s a very small dose, just enough for a child essentially. Could I be prescribed more, def, but I have preferred to take a minimal dose because in the past taking a higher dose has led me to feel like a walking zombie. Because of my ADHD I am a total nut-job when it comes to organization. If I allow a mess or a “pile” or my organization to get outta wack, I shut down physically and mentally AND emotionally.
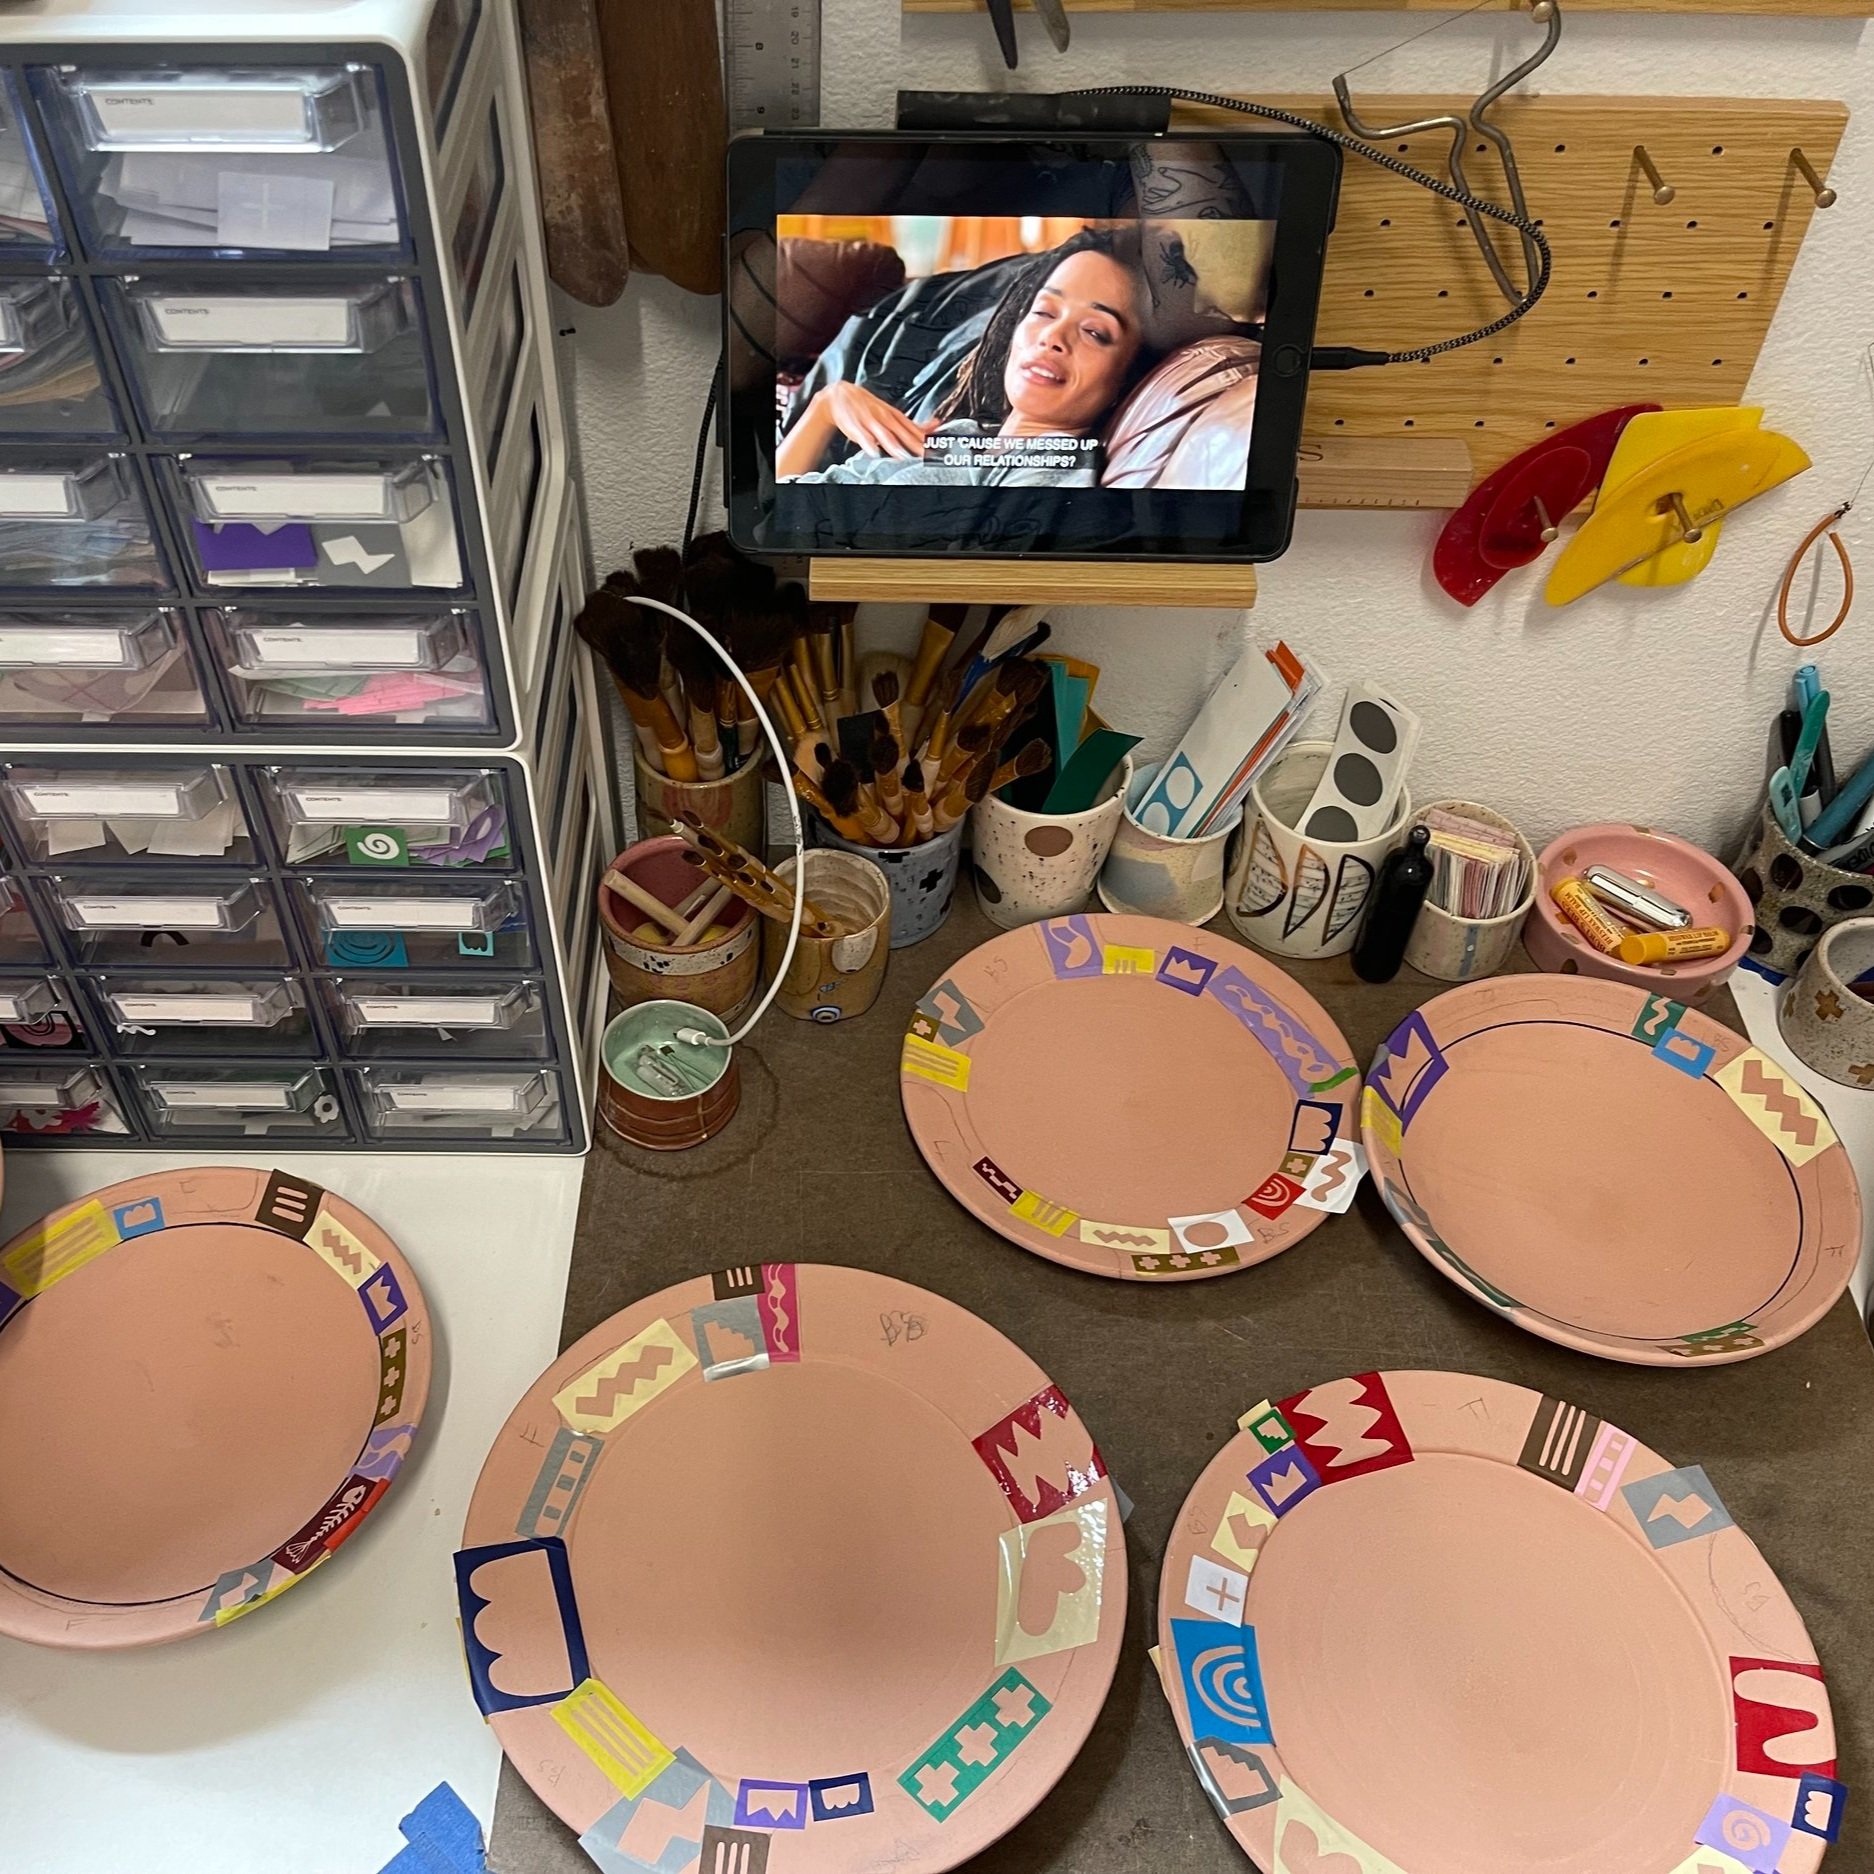
When I have moved studios and when I clean I tend to make the typical ADHD “piles,” such as the one you see in the pic to the left. For whatever reason this is what works for my brain to then begin the organizational process.
I use a plethora of materials- raw/powder, underglazes, commercial glazes, homemade glazes, several different bodies of clay, and more. Not to mention all of my tools, equipment, test tiles, etc. The list goes ON AND ON AND ON AND ON (Journey shout out: “some'll win, some will lose, some are born to sing the blues, whoa, the movie never ends, it goes on and on and on and on" lol).
Make a list of these things- catagories, if you will. Example of mine below.
Materials
Commercial glazes (AMACO, Mayco, Duncan, Laguna, Spectrum)
Commercial underglazes (AMACO)
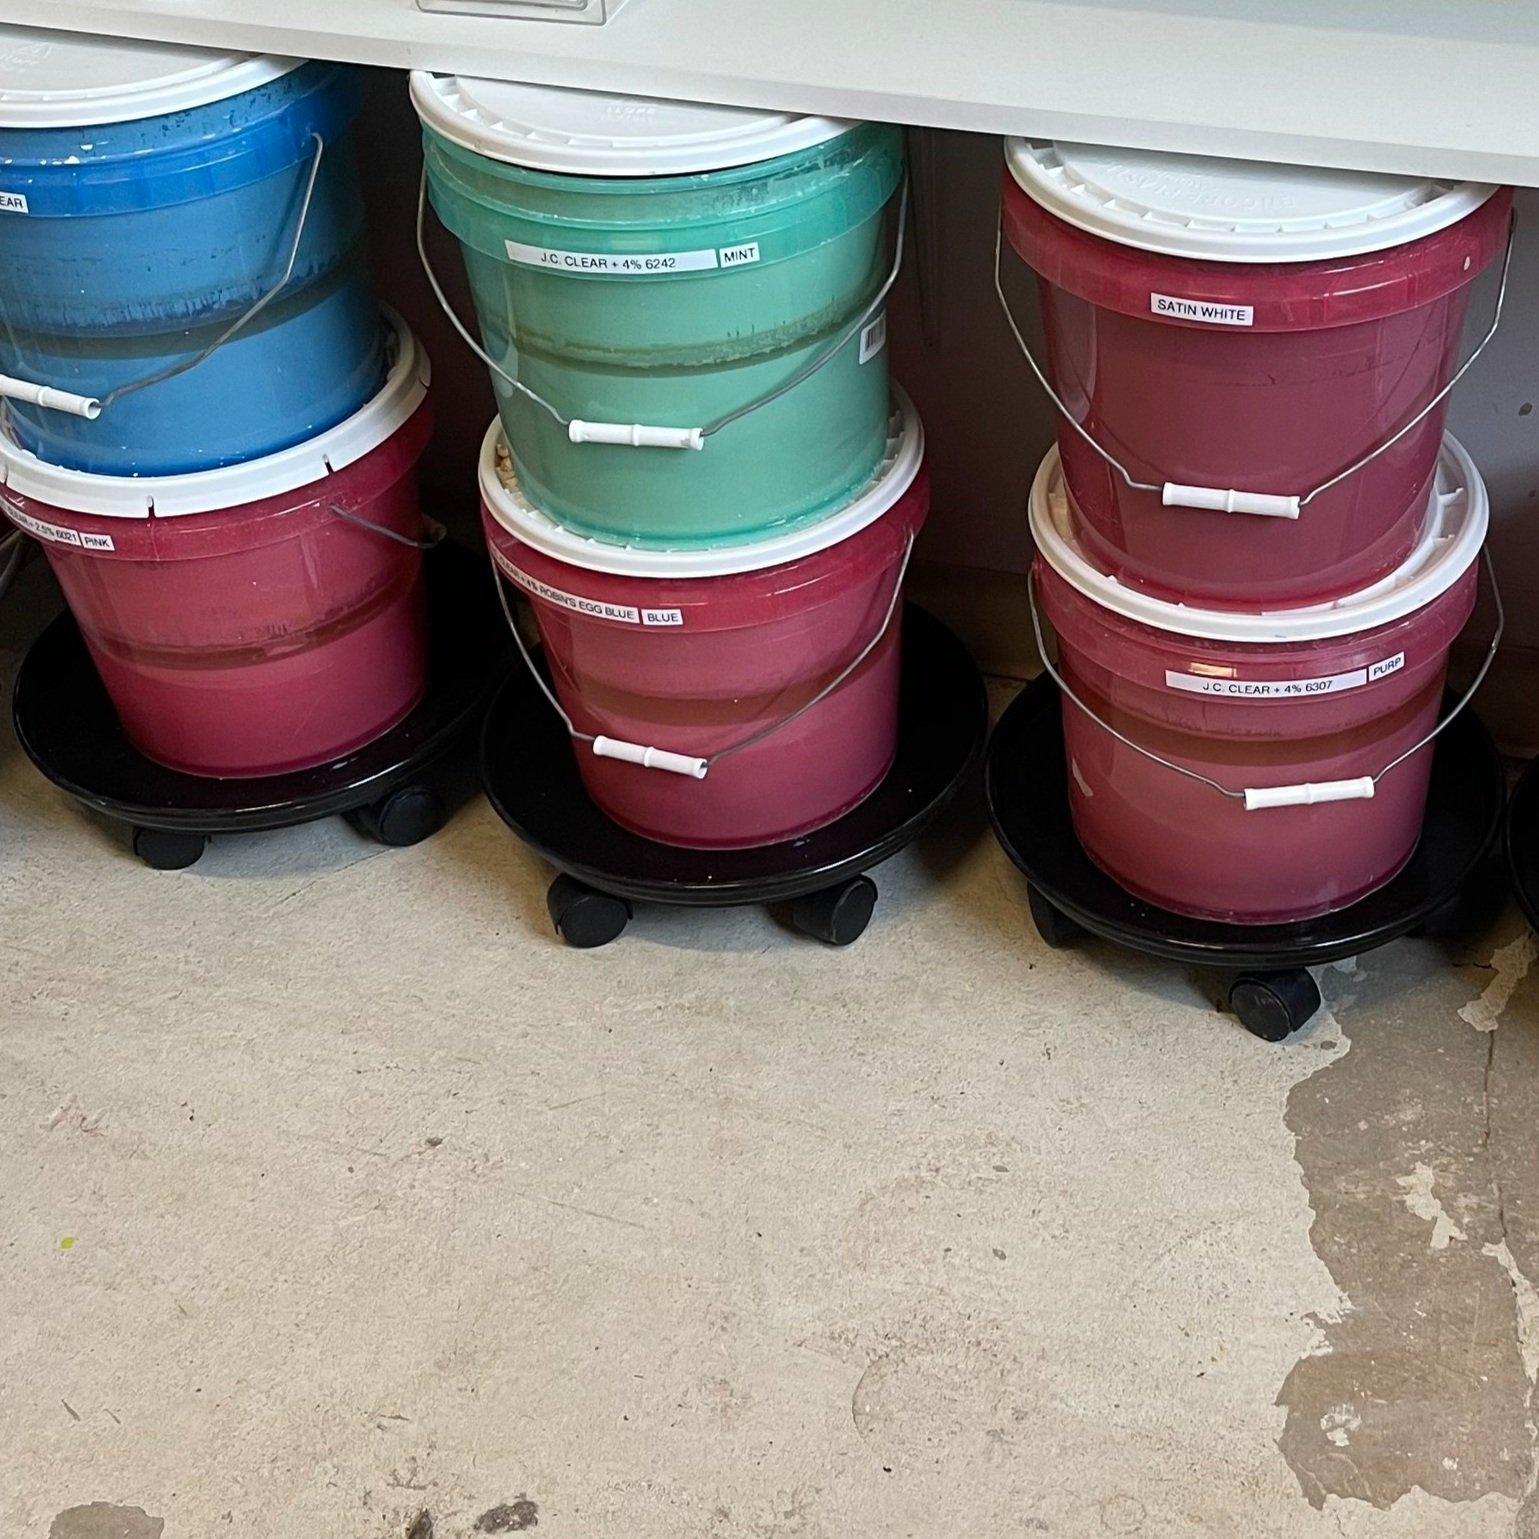
Homemade glazes in 3 G buckets (clear and satin)
Washes
Clays: 3-5 clay bodies at any given time + 1 bucket of porcelain reclaim and 1 bucket of stoneware reclaim (I throw all of my stoneware clay bodies into the same reclaim bucket to make a new stoneware all together!)
Mason Stains
Dry materials
Equipment/tools
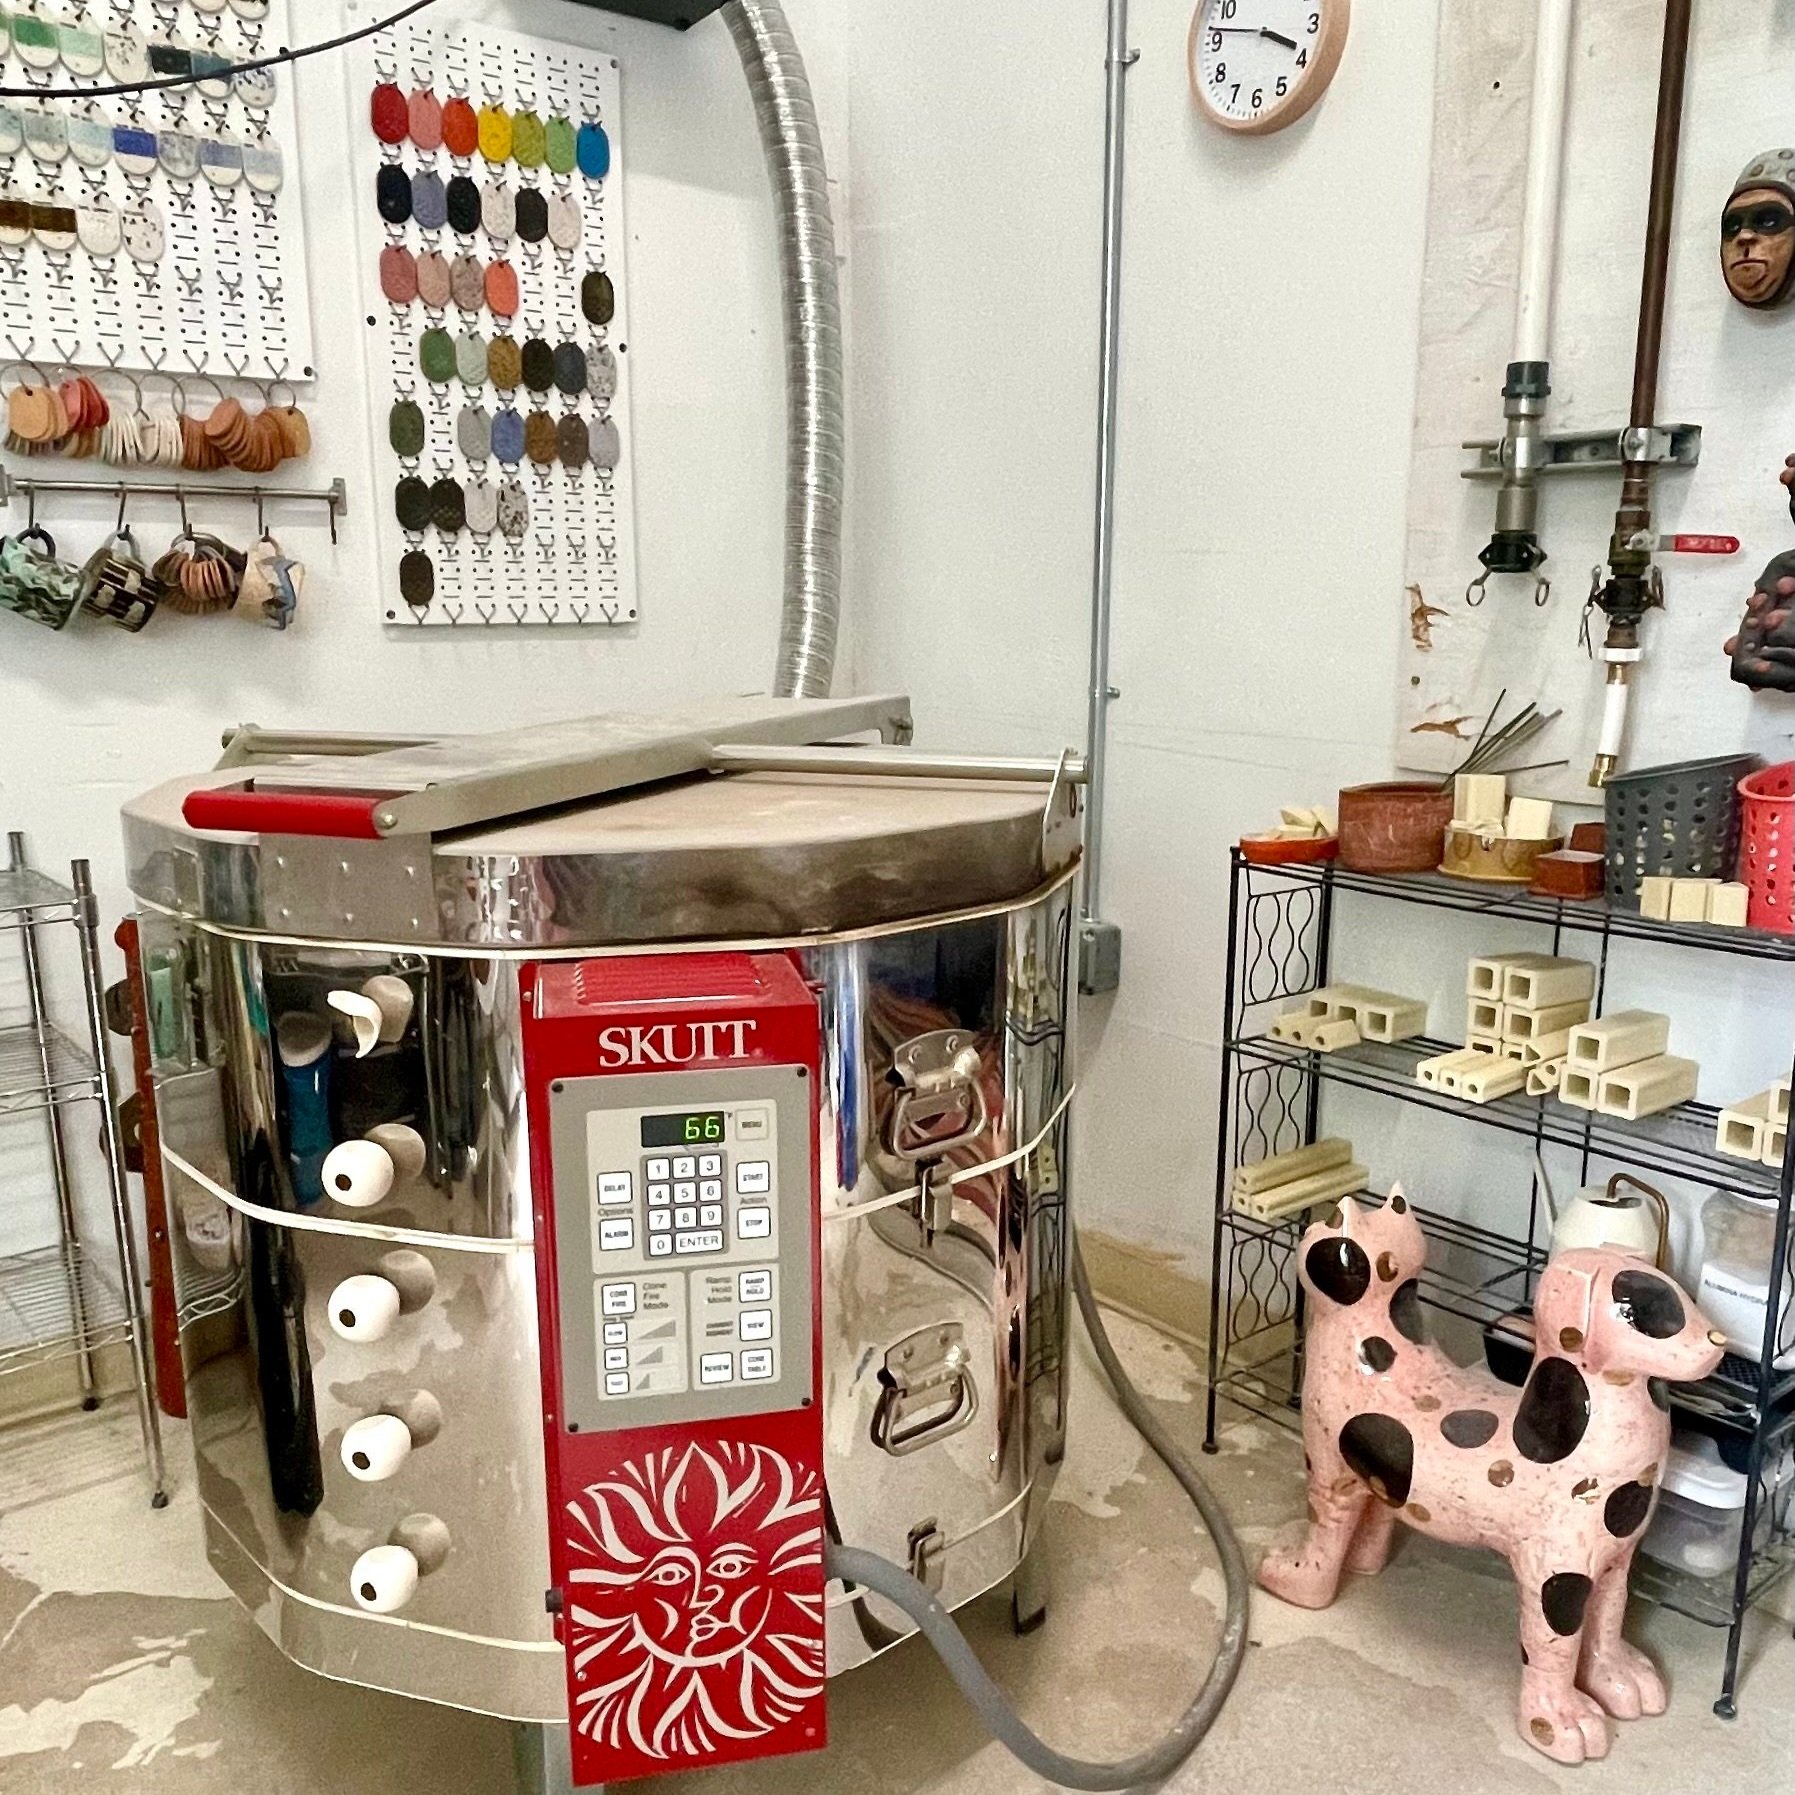
Kiln
Kiln shelves
Kiln posts
Kiln stilts
Small pottery tools (hand tools)
Wheel
1 large table
Several wire racks
Random
Test tiles
Shipping materials/marketing material
Stencils
Organizational tools
Okay, I’m gonna say this now…with a lot of intent…GET A LABEL MAKER GET A LABEL MAKER GET A LABEL MAKER GET A LABEL MAKER GET A LABEL MAKER GET A LABEL MAKER GET A LABEL MAKER. If you also have ADHD this helps so much. Rather than having little pieces of different colored tape/labels on everything, the label maker makes a clear concise description of each item without scrambling your brain with all the things we constantly look at in the studio.
When it comes to basic organization, below you’ll find descriptions allllll the things that help me out in that arena. You can find all of these items in my Amazon list HERE.
Label maker (any will do, but this is the one I have- given when I purchased it I think it was half the cost)
Wire shelving/racks (do yourself a favor and be sure to purchase casters/wheels)
4 oz jars (great for small amounts of dry materials, Mason Stains, glazes, etc.)
8 oz jars
Over the door organizer (great for glazes, tools, kiln posts, kiln stilts, etc.)
3.5 G buckets with lids (I prefer these, bc they take up much less space than 5 G buckets- typically you can find them cheaper at your local hardware store)
Bucket dollies (save ya’ back!)
Stencil (or tool) drawer organizer (again, when I purchased it I think it was half the cost)
Wooden pegboard for tools
Metal pegboard for test tiles or tools
Mapping out your studio
Now, thinking about the actual space you have. Take measurements of your studio/working space. Draw out an areal view of the space with the measurements on there. The first thing you should think about and place on that drawn map- kiln! Where is the plug/outlet? Do you have one yet? If not, have you confirmed with an electrician of where it’ll be installed? Please note, your kiln should be 18” away from walls/furniture/all the things and be sure your flooring is concrete/tile.
Also, while we’re talking about the kiln, go get a damn fire extinguisher. You see that? I even put a link in there for you. Easy. Better yet, that link is for a four pack, so put one in your kitchen, one right outside of your studio space, and hell, maybe even one in your bedroom. You neverrrr know. Fingers crossed nothing ever happens, but better safe than sorry. For more info on studio and artist safety please visit CERF+.
From there you can plug in where shelves and such will comfortably fit. DON’T FORGET TO ADD IN WHEEL, AND/OR WORKING TABLE! Place these items first before going any further. I find that by doing that everything else comes into place more efficiently. If you have large buckets of glaze and reclaim it’s a good idea to think about where those will live now. Under your working table? Under racks and shelving?
Once they’re in place give the space a look over and feel the vibe. Think about what might make you more cozy, if something should be repositioned, do you want your wheel to look out a window, etc. If you’re able to, leave the configuration for several hours and come back to it here and there. Better yet, feel it out over several days. If you don’t have time to do that, no worries! Things can always be shifted around, minus the kiln.
Tinkering
Alright, all the big things are in place! Congrats! You did it! Now it’s those finishing touches that put everything into place on all those beautiful empty racks, shelves, and tables.
Here are some things to consider:
Containers of raw materials: Do you use them a lot? Or are you like me and use them once every couple of months? If you’re like me, I’d recommend either storing those raw materials on a high shelf, in a large Tupperware container, or below a rack/shelf. But guess what, when you store those materials be sure to alphabetize them. You’ll thank yourself for this later when you need a few grams of bentonite, I swear!
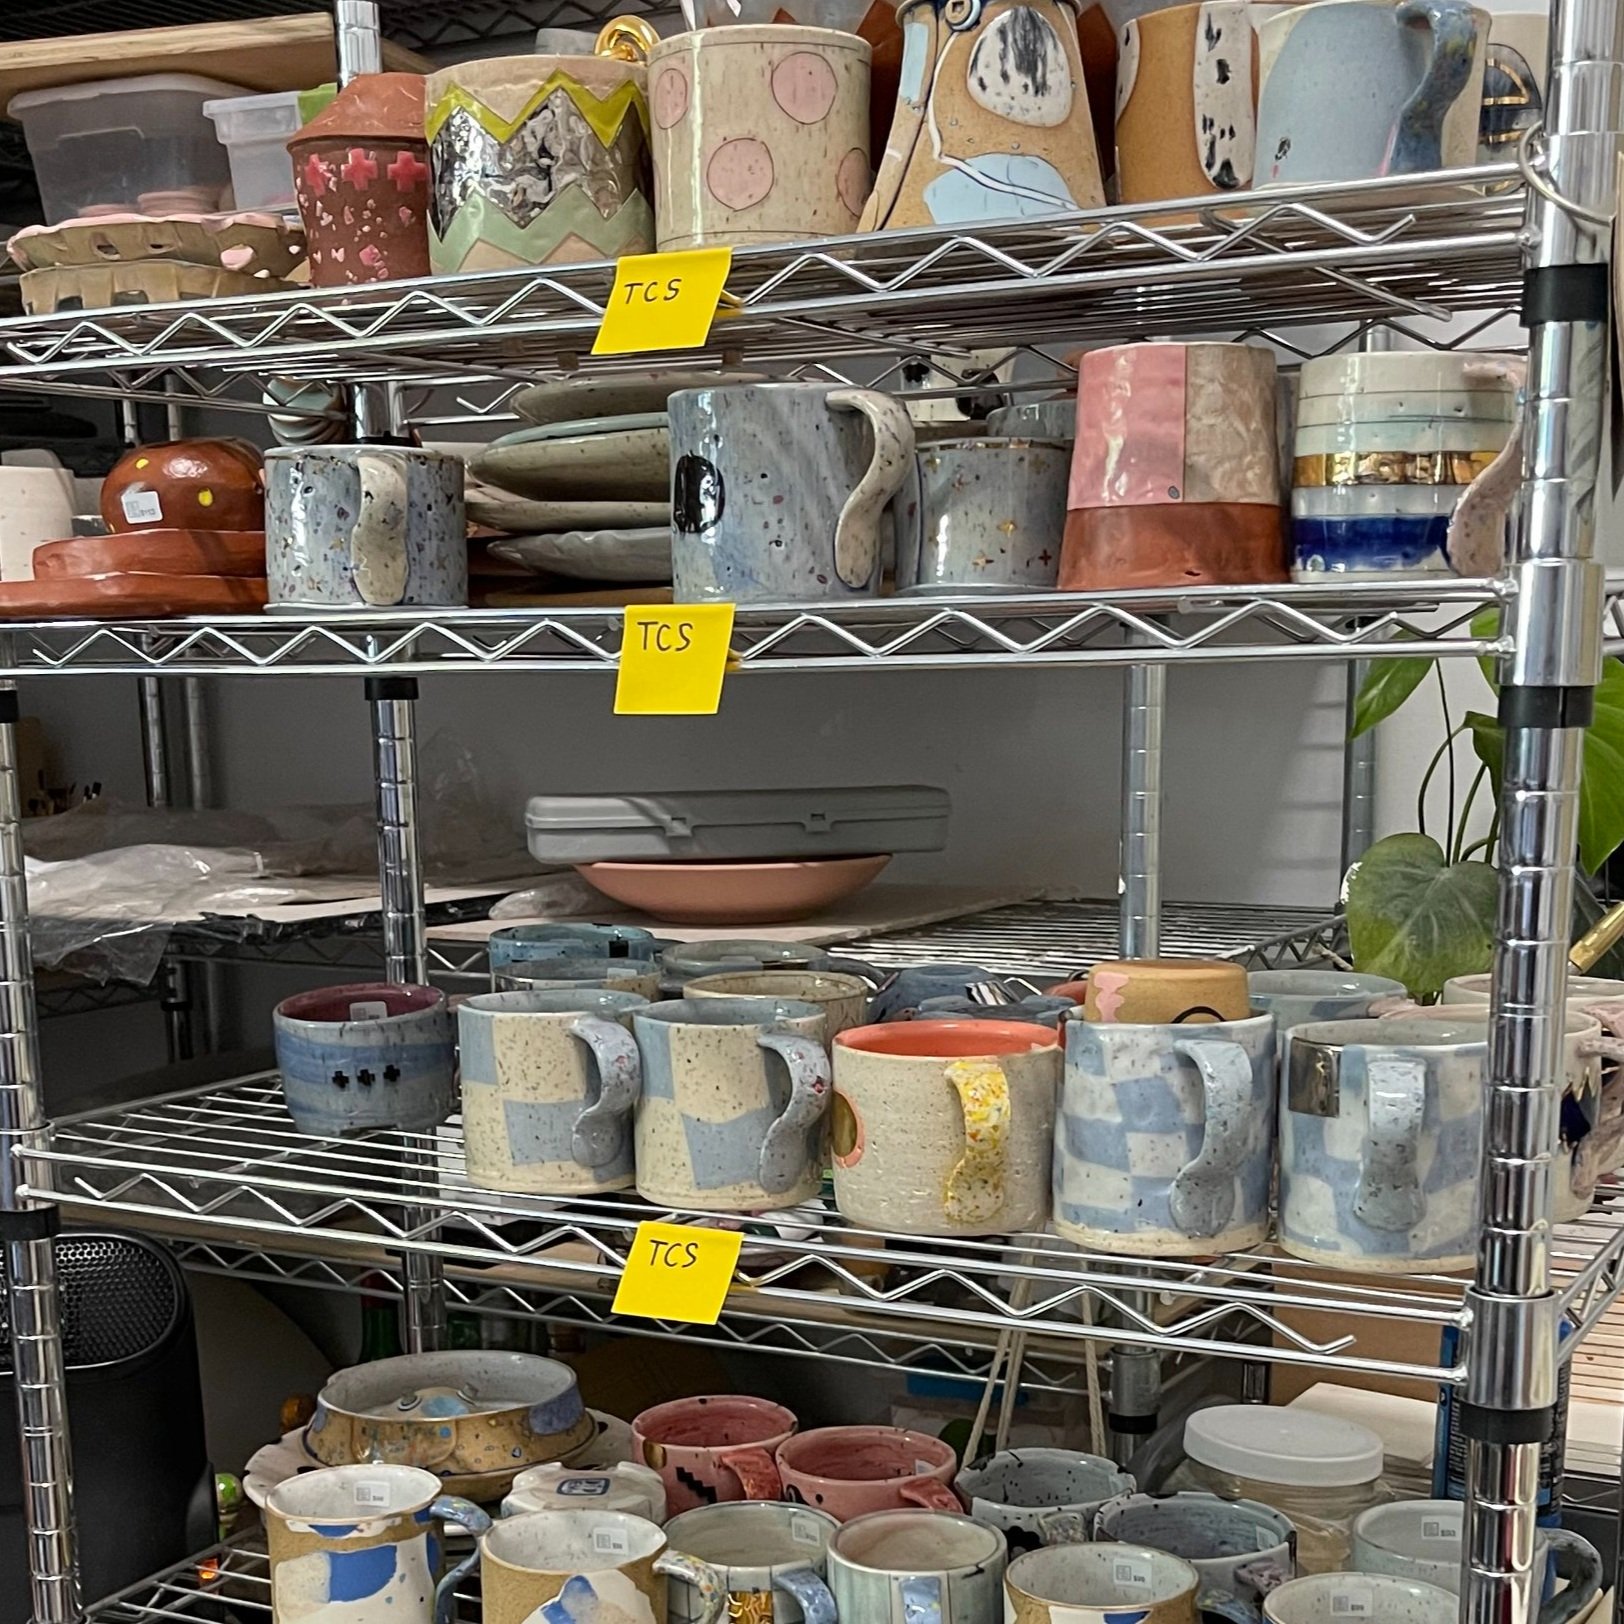
Mason Stains, underglazes washes, and glazes: COLOR CODE ALL THIS! It not only helps find everything more efficiently, but it also brings a smile to my face seeing that dope ass rainbow. I use Mason Stains about as much as my other raw materials, so I store those up high as well. I use underglazes and glazes frequently, so those go on a middle shelf/eye level, but for glazes I don’t use as much, I place those in large Tupperware containers so they’re not building up as much visual clutter (ADHD tip). BUT be sure to list out what’s in there- place some labels on the front face of the container letting your future self know it’s there, if you need it.
Shipping & marketing materials: I use these frequently, but because of the size of packing materials I place these on a top shelf, being sure it’s nowhere near my kiln. No no!
Test tiles: Metal pegboards with test tiles on them are perfect on a wall face behind your kiln! Color code all your tests, of course.
Boxes of clay: Away from your kiln! Preferably on the other side of your studio away from the kiln. I place mine under a shelf on the cold concrete floor, stacking them no more than 5 25lb bags high, with the bag opening side against the wall, for more moisture protection.
Ending notes
That’s about it y’all! Of course, depending on your processes/materials you use, you’ll have to adjust things to your needs. I do offer a service, helping you map out your studio. If you’re interested in this please feel free to contact me.
Info & fees:
Includes a 1/2 hour Zoom consult and an aerial view drawing of the space with furniture and equipment placed.
From you, I’ll need: Images and dimensions of the space (as many as you can send me!), images and measurements of your current furniture and equipment you’d like to continue to use, a list/pix of the materials and tools you use most.
$250 total.
Thanks so much for reading and I hope this helped you out, even just a lil bit! Please share and comment below. Cheers!